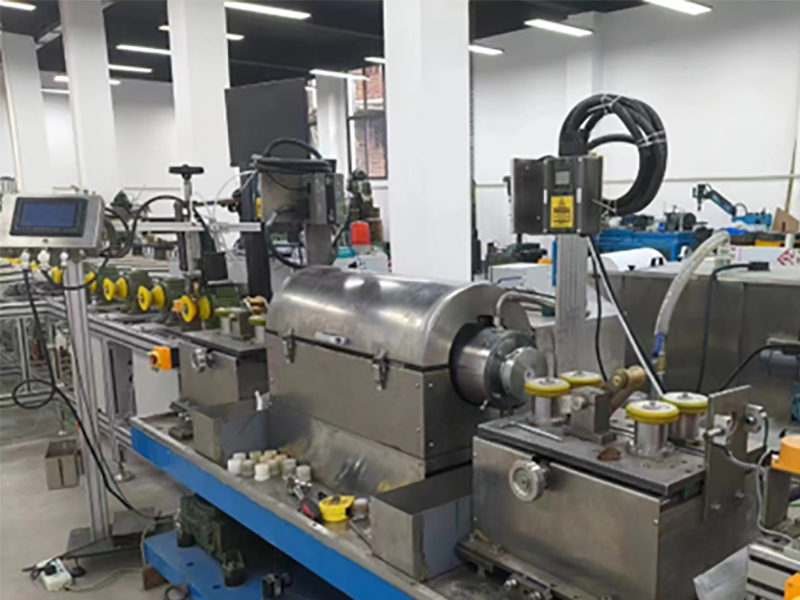
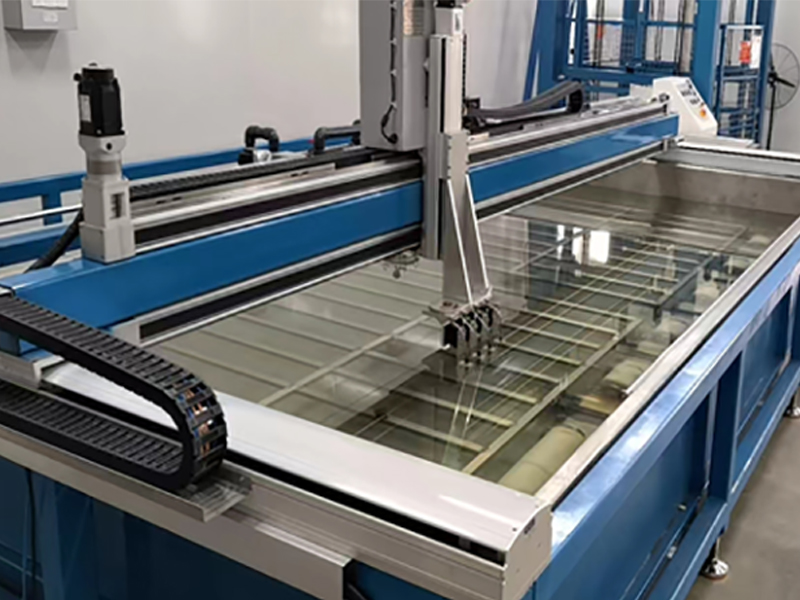
Spiral Forward Ultrasonic Inspection System
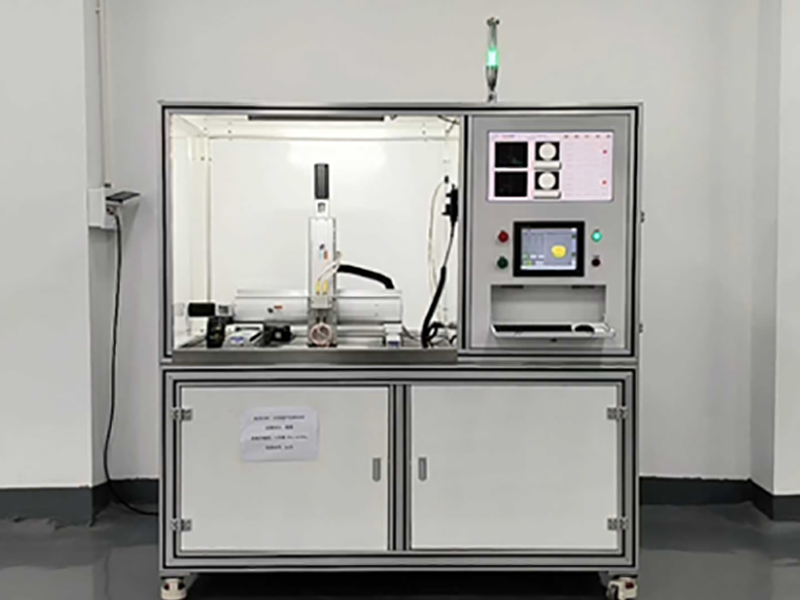
- Real-time imaging display via C-scan;
- Scanning step spacing of no more than 0.05mm;
- Scanning of the bonding surface between the target and the entire backsheet;
- The percentage of unbonded area to total welded area is automatically calculated by image processing software.
For product pricing, customization, or other inquiries:
Share to
Main Technical Indicators
- Diameter range: φ10mm-370mm, customized according to actual demand φ10mm-40mm, φ25mm-76mm, φ40mm-168mm, φ60mm-180mm, φ73mm-219mm, φ60mm-350mm, φ89mm-273mm, φ114mm-370mm and so on.
- Length range: 4m-30m
- Pipe wall thickness :4mm-20mm(the ratio of wall thickness to outer diameter is not greater than 0.2)
- Number of channels :2-128(according to the actual detection needs to choose)
- Transmission mode: carbon brush coupling, capacitive coupling
- Detection function: pipe: internal and external surface longitudinal / transverse groove injury, delamination, thickness
- Bar: flat bottom hole, surface longitudinal injury, transverse through-hole
- Defect detection sensitivity (depth×width×length): surface groove wound: 0.1mm×0.1mm×3.18mm
- Equivalent defects of flat bottom hole of bar: φ0.8mm
- Signal-to-noise ratio: ≥10dB
- Stability: ≤2dB (after 4 hours of continuous stable operation)
- Circumferential sensitivity: ≤3dB
- Pipe inner and outer wall sensitivity: ≤2dB
- False alarm rate: ≤ 1%
- Leakage rate: 0
- Detection speed: 0.5m/min-10m/min
- End blind zone: 20mm-200mm
- Marking accuracy: ≤±50mm
- Standards: GB/T5777-2019, GB/T12969.1-2007, YB/T4082-2011, JB/T10061, ASTM E213, GB/T4162-2008, GB/T5193-2020, ASME SB-338, GJB 494A-2008 and so on.
- Used for ultrasonic flaw detection of bulk tubes and bars to detect internal defects, surface and near-surface defects.

